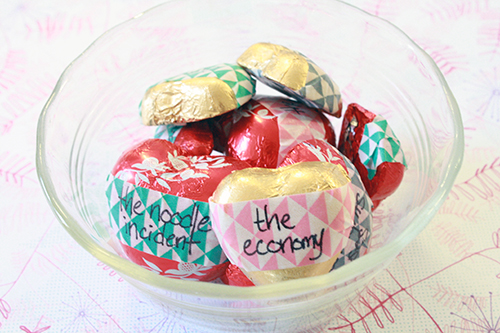
Excessive Valentine’s Day enthusiasm weirds me out. Me, I like a loving, caring relationship that is built on mutual adoration and respect, and a whole heaping lot of irreverent, sarcastic humour. Which may seem a little incongruous with the way I also love cuteness in most any form, but there’s something about the official tweeness of V-Day that stimulates my gag reflex.
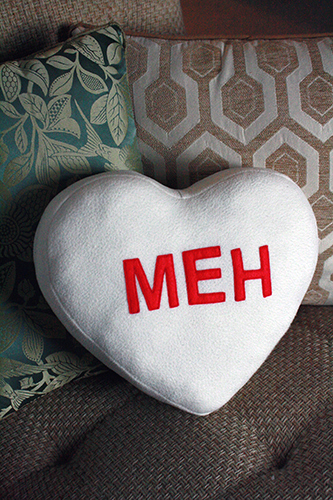
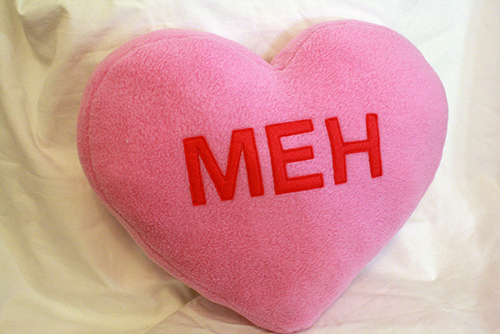
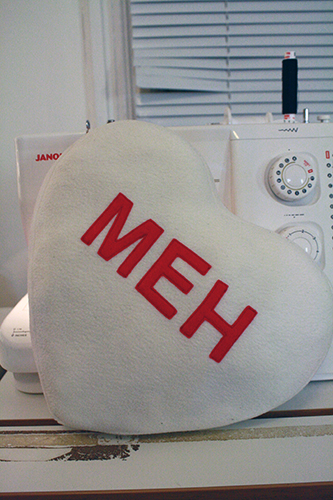
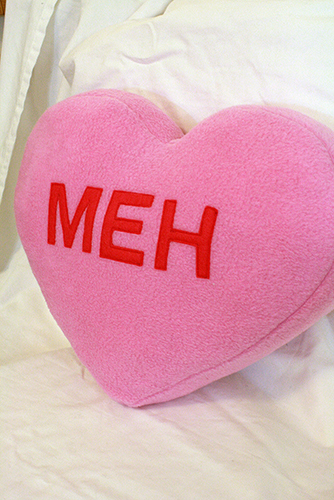
Candy conversation hearts are at the top of my V-Day “ick” list, with their saccharine sayings and sugared-chalk-paste flavour. And so, for this Valentine’s Day, I’ve created a much more real kind of candy heart, in squishy huggable (or throwable) cushion form. Enjoy.
And if you want to make a heart cushion that’s serious, at least pick a better saying. Perhaps “As You Wish.” I’ll provide you a lettering template for that one too, just in case.
———————
What you’ll need
materials:
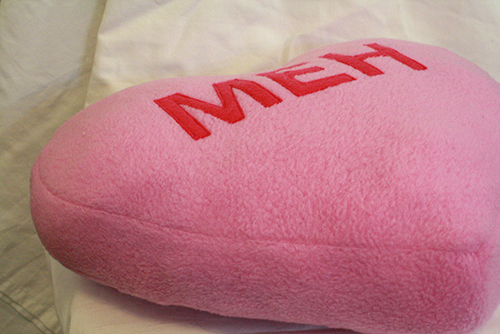
- fleece – if you want to stick with traditional candy heart colours, you’re looking at yellow, white, soft orange or a pastel pink, purple or green. You’ll need .4 meters (that’s point four, not four – four meters will make you a lot of candy heart cushions)
- felt – fusia / dark pink if you want it to match the colour of the lettering stamped on irl candy hearts.
- threads to match your fleece and felt colours
- HeatNBond – not much, just enough to cover the letters
- polyfil
- glue stick
- printer and candy heart meh template (or, alternatively, use the candy heart as you wish template)
- piece of blank scrap paper
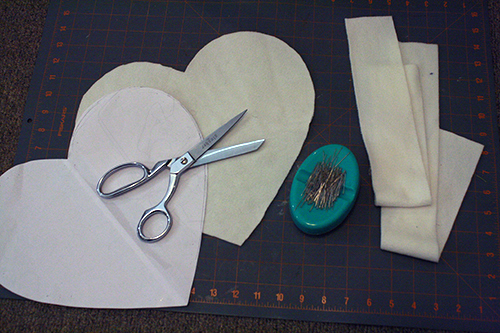
tools:
- fabric scissors
- straight pins
- sewing machine
- ruler or measuring tape (and if you have it, a cutting mat/ruler/rotary knife will make cutting the rectangular pieces very quick and easy)
- iron & ironing board
- pressing cloth – a dish towel or scrap of cotton cloth will work just fine for this. You could even use a t-shirt. It’s just to keep your iron from melting your fleece.
———————
Putting it all together
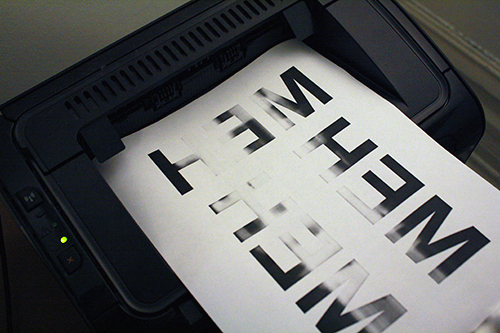
1) Print the lettering template and pillow pattern. Cut out the pillow pattern. Fold your fleece in half, pin the pattern to the fleece with the straight edge of the pattern along the folded edge of the fleece. Then do this again with another section of fleece, so that you have two matching fleece hearts.
I think our printer needs a new ink cartridge…
2) Cut two rectangles of fleece that are 19 inches long and 2 inches wide.
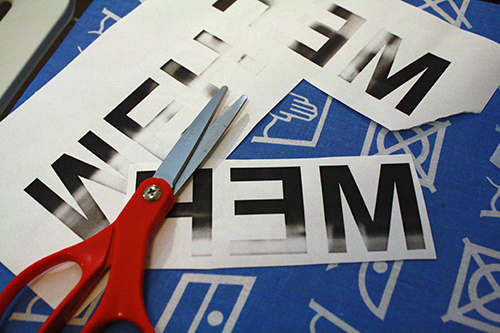
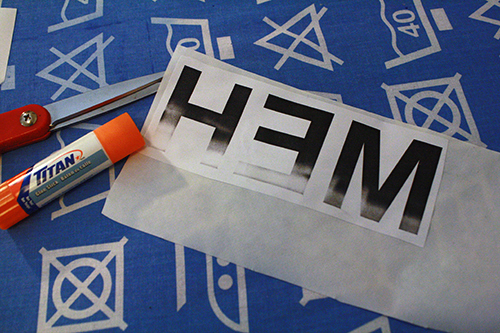
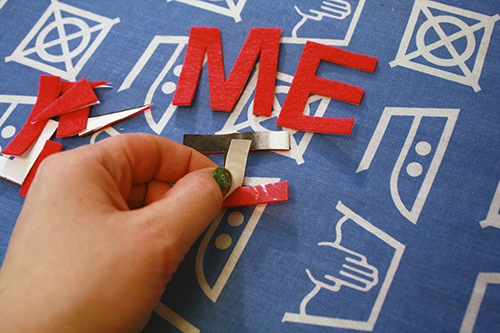
3) Take the printed sheet with the lettering on it (the letters will be backwards) and cut loosely around the letters, getting rid of the blank paper around the edges. The “MEH” sheet has three instances of the word printed on it because why waste paper – save 2 of them for future pillows, or make 3 pillows at once if you wish.
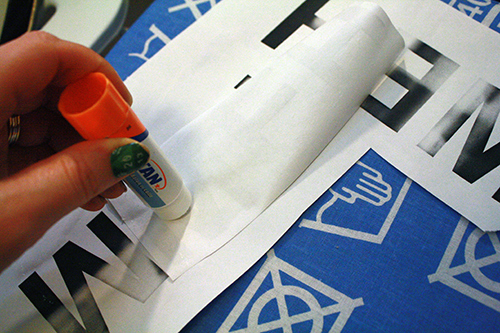
Apply glue to the back side of your “MEH” cutout, then glue it onto a piece of HeatNBond (glue it to the papery, not-shiny and plastic-y side of the HeatNBond).
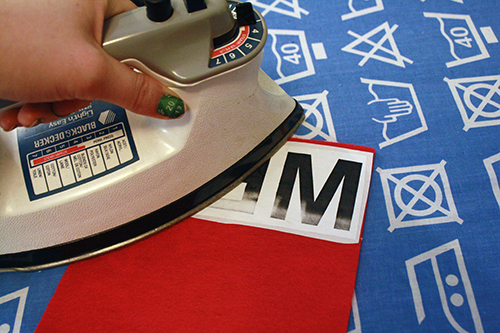
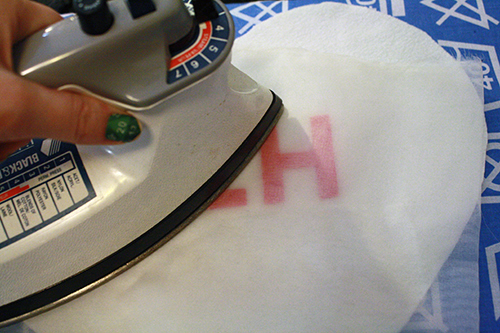
4) Turn your iron on to medium high heat, place your paper+HeatNBond on top of your felt piece, place another piece of blank, unprinted scrap paper on top of that* and then go over it all with the iron till the HeatNBond is fused to the felt (it should only take a few seconds).
*This is important so that you don’t get printer ink on the bottom of your iron. I didn’t think to do it myself the first time through, as you can see in the photo below, but learn from my error!
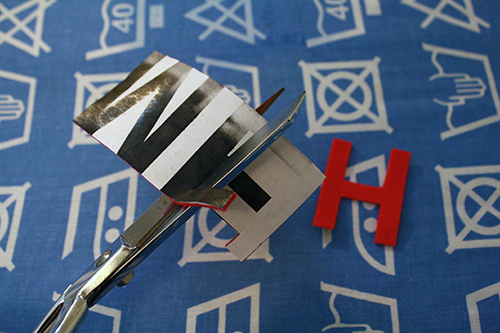
5) Cut out the letters, cutting through felt+HeatNBond+paper. Then peel the paper and the papery portion of the HeatNBond away from the felt, so that you’re left with felt letters that have a plastic-y film on their back side.
Basically, if you’re familiar with using HeatNBond for applique from some of my other tutorials or just your own experience, this new glue-printed-image-to-the-HeatNBond step is for efficiency. It allows you to skip the step of tracing the images onto the HeatNBond and makes the whole process faster, as well as tidier b/c you’re cutting the original lines of the image rather than traced (and therefor possibly less precise) ones.
6) Lay one of your fleece heart shapes out face up and lay the letters out on top of it, placing them exactly where you want them to end up. Make sure they’re not too close to the edge, and are approximately centered top-to-bottom.
Place your pressing cloth on top of all this, then iron over the lettering, pressing down firmly, and probably letting the iron sit for 10-30 seconds to get the felt to fuse to the fleece. The pressing cloth is important because the iron needs to be on high heat to fuse the layers, but high heat in direct contact with fleece can melt and warp it a bit, so the pressing cloth prevents that.
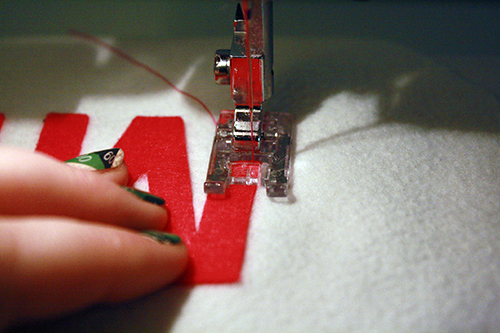
7) Thread your sewing machine to match the colour of the felt letters, and using a small straight stitch, sew around the edges of the lettering, just a wee bit in from the edge.
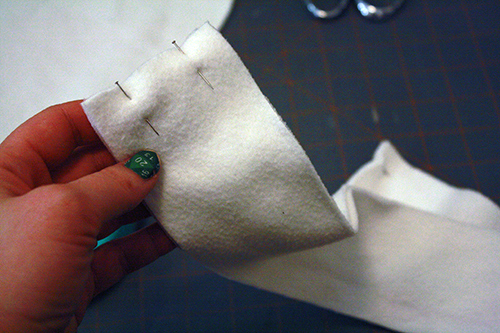
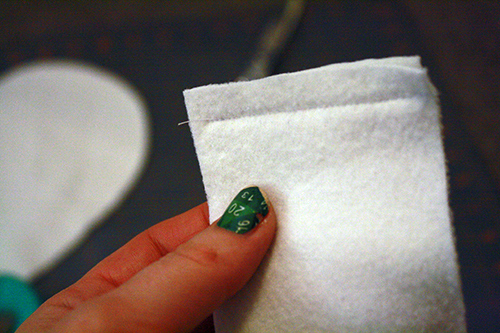
8) Pin your two fleece rectangles together at both ends, with right sides facing together, and sew those ends together, straight across.
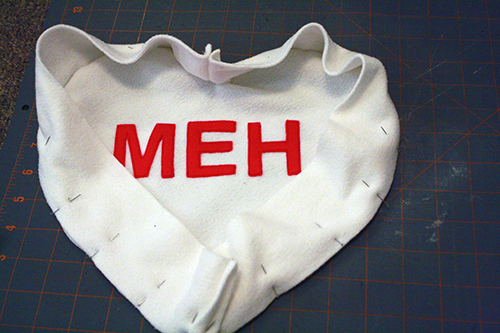
9) Pin one edge of this loop of sewn-together rectangles to the edges of your lettered heart shape, so that the right sides of the fleece of the loop and the heart face together. Match up the seams of the rectangle loop with the bottom point of the heart, and the top indent of the heart.
Sew all the way around this, removing pins as you go.
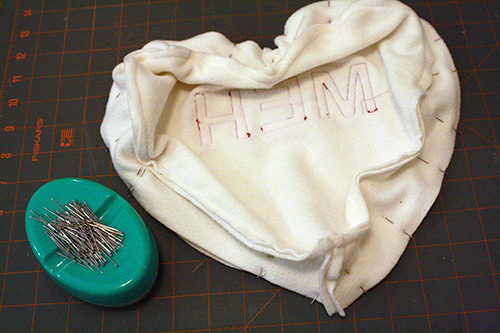
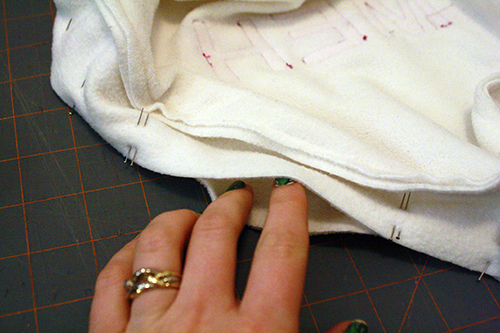
10) Now pin the other, un-lettered heart piece to the unsewn side of the rectangle piece. This time though, along one side of the heart, leave a section about 3-4 inches long unpinned, and put double pins on either side of it to remind you not to sew this section closed.
Sew around this, leaving that one section open.
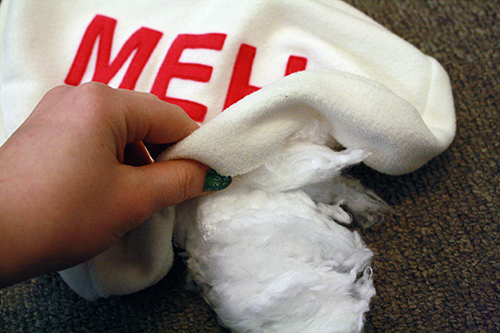
11) Use the unsewn area to turn the whole thing right side out, then stuff the whole shape with polyfil.
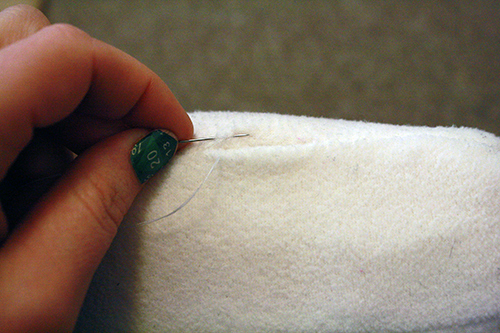
12) Pin the gap closed, tucking the raw edges inside, and use a needle and thread to stitch it shut.
13) Place on your couch (or your significant other’s couch) to let everyone know just how you feel about this whole emotion-soaked Hallmark holiday. Then grab a glass of wine and turn on Diablo and go skewer zombies to relieve your feelings.