By the time I was about two years old my mother had me trained to crawl around the living room carpet finding stray pins. This was to keep my younger playmate (my parents’ friends’ daughter) Sarah – and, later, my baby brother – from eating them. I was very good at my job. No pins were ever digested by any family member or house guest, nor were pins often found by piercing an unwary foot.
Throughout my life, my mother has been an increasingly talented seamstress, and everyone who sews knows that it’s virtually impossible to never lose track of a pin or three in the carpet while putting fabric pieces together. So she made us clothes and dolls, and I looked for lost pins. Such are the whimsical moments childhood is made of.
There is a technique (albeit not a very complicated one) to pinning. The very very basic place to start is with how to insert pins into fabric.
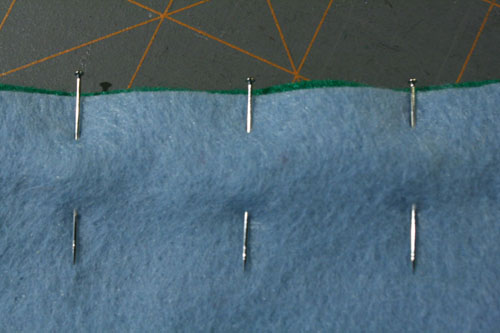
Pierce the fabric with the pin, push it in, and bring it back up about 1/4 to 1/2 inch further along.
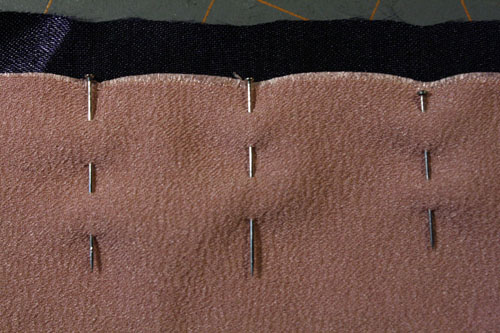
Or, pierce the fabric, bring the pin back through it after a very short distance, and repeat. This second method is only necessary if you’re working with lightweight or slippery fabrics that pins fall out of easily.
Some other important pinning points:
- Insert your pins at a straight angle, perpendicular to the fabric edge: It’s neater, it holds everything in place more evenly, and if you do accidentally sew over a pin this creates a far lesser chance that the sewing machine needle will break. (So if you’re pinning an edge that’s not straight (as below), the pins will curve along with the edge of the fabric to remain at right angles to that edge.)
- Don’t sew over pins: It’s bad for your sewing machine and could also break the needle. Obviously we all do end up sewing over pins, out of laziness or inattentiveness or sheer spite for the rules, but it’s not a good idea.
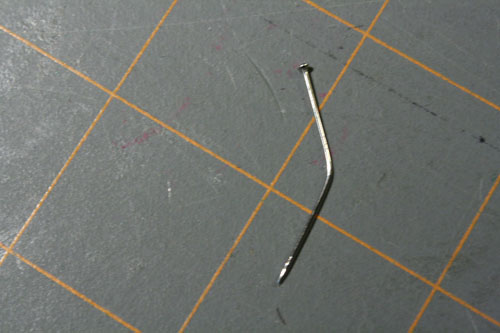
- Throw out bent pins: Bent pins have a greater chance of breaking your needle if you sew over them, they won’t hold fabric straight and they’re a real bitch should you accidentally step on one.
Pin Storage:
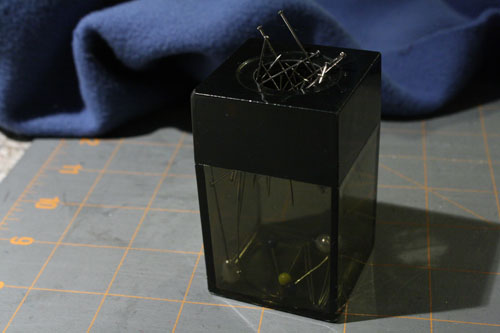
I find it best to store pins in or on some kind of magnetic device, to lessen the chance of them spilling all over the place. 52 Pin Pick-Up is not a lot of fun – it strains the eyes and can be hell on the feet if you don’t finish with a perfect score. You can buy all kinds of magnetic pin holders in fabric and craft stores. Mine is a square plastic box with a magnetic lid that has a hole in the end for grabbing pins from. Another common pin-holder is a shallow bowl-like dish with magnets inside to keep the pins in place.
[Note: There are different kinds of pins (of different lengths and widths, made of different metals, etc.) for use with various fabrics and situations. Unless you’re really getting into really professional and high-end sewing, though, pin type shouldn’t particularly matter; you’ll be fine using whatever generic pins are cheapest at the fabric or craft store.]


David
/ January 25, 2011My wife is terrible about losing pins (and especially needles) which I usually find later on with my feet. For Christmas she got me the best present ever: A magnetic ‘wand’ for searching for and finding lost pins!
Claire @ keepsmeoutofmischief
/ August 2, 2011I made a pin cushion that fits around my wrist. Can’t knock it onto the floor and it’s always handy to getting and replacing pins.